Posts

Featured Post

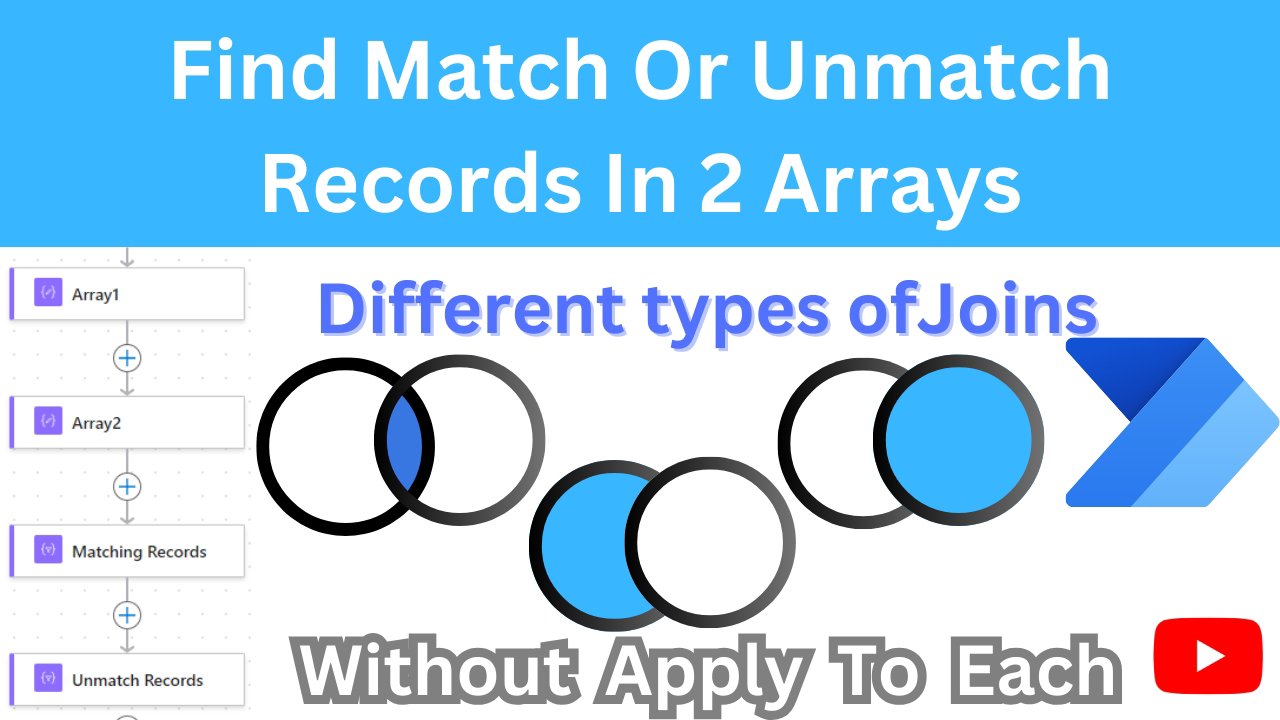
Find The Unmatched and Match Records in 2 Array In Power Automate
Image
Find The Unmatched and Match Records in 2 Array  by using power Automate  Create Different Types of Joint In Power Automate 1. Challenge: Handling and comparing two arrays based on a unique column in Power Automate without using the 'Apply to Each' action. 2. Objective: Find matching and non-matching records across two arrays. 3. Goal: Perform various types of joins on the arrays, including inner join, outer join, union, and others, using this approach. For More info 👇 https://youtu.be/s-cySUJixfI video ✨ Thanks for reading! ✨ I hope you found this blog on the Microsoft Power Platform helpful! From Power Apps, Power Automate (Cloud & Desktop), Canvas Apps, Model-driven Apps, Power BI, Power Pages, SharePoint, Dynamics 365 (D365), Azure, and more, I cover a wide range of topics to help you harness these powerful tools. Don’t miss out on future tips, tutorials, and insights—hit that subscribe button to get the latest posts right to your inbox. 💌 💬 I’d love to ...

Create Solution Plan with Copilot : Preview Feature

Image
 Create Solution Plan with Copilot   Start with a Plan Great solutions don’t begin with coding or designing the UI but by understanding the problem and user requirements. Power Apps Studio now offers tools to plan solutions right from the start. Developers can discuss the business problem with Copilot, ensuring the solution aligns with business needs. Users can describe their problem, share diagrams, and legacy app screenshots to draft user roles and requirements, which can be further refined with Copilot's help. Once requirements are clear, Power Apps will propose a data model, displayed as an entity relationship diagram (ERD). Makers can explore and update it visually. The system will also recommend the types of apps and automation (Canvas apps, model-driven apps, and cloud flows) that best fit the requirements. This process is collaborative and iterative—users can make changes to roles, data models, and user experiences at any point. The plan stays with the app,...

Public Preview of Column-Level Security for Masking Sensitive Data

Image
  Public Preview of Column-Level Security for Masking Sensitive Data Data Masking in Customer Interactions: Key Points Overview : Data masking (also known as de-identification or obfuscation) protects sensitive information by replacing it with masked strings. This ensures that only authorized users can view the original data, while unauthorized users see the masked version. Purpose : Helps prevent exposure of sensitive information such as credit card numbers and social security numbers during customer interactions. Preview Feature : This is a preview feature, meaning it is available for early access and feedback but isn't intended for production use. May have restricted functionality compared to the final release. How Masking Works : Masking Rules : Define how data should be masked using regular expressions to identify patterns like credit card numbers or email addresses. Rules Setup : Create a solution in Power Apps. Add components and select "Secured masking rule" from ...

Power Platform Admin Center : AI prompts settings

Image
 Power Platform Admin Center AI prompts settings are now available in the Power Platform admin center (PPAC). Note: This image is AI-generated. Administrators can manage the availability of AI prompts in Power Platform and Copilot Studio for specific environments through PPAC. To access this feature setting, follow these steps in PPAC: Select Environments . Choose your environment. Navigate to Settings . Go to Product . Select Features . Adjust the AI prompts setting as needed. By default, this setting is set to "On." If the Copilot environment setting was previously set to "Off," the AI prompts setting will automatically match that value. Please note that if AI prompts have been disabled at the tenant level by your tenant admin, this setting will not be applied. AI prompts, which were previously managed through the Copilot settings, will now be controlled through the AI prompts setting in PPAC. If you want to disable AI prompts across your entire tenant, you can c...

Power Apps Cards vs. Adaptive Cards: When to Choose Which

Image
  Power Apps Cards vs. Adaptive Cards: When to Choose Which In the evolving landscape of Microsoft Power Platform and broader Microsoft 365 suite, understanding the tools at your disposal is crucial for optimizing your workflows and user experiences. Two notable components in this ecosystem are Power Apps Cards and Adaptive Cards . While both serve to enhance user interactions and streamline processes, they cater to different needs and scenarios. Power Apps Cards are designed for creating dynamic, task-oriented micro-applications that integrate seamlessly with Microsoft Power Platform tools, offering a low-code solution for building interactive and actionable business processes. They are ideal for scenarios requiring complex integrations, automated workflows, and user-centric task execution. On the other hand, Adaptive Cards provide a versatile, platform-agnostic way to present information and collect user input across various Microsoft 365 applications. Their JSON-based structu...

Power Automate OData filter query in SharePoint Get Item

 Power Automate OData filter query in SharePoint Get Item In Power Automate, the OData filter query helps to retrieve only the data that matches specific criteria. Below is an example of how to write it in a flow. Example 1: Filtering SharePoint list items where Status is Approved Let’s assume you have a SharePoint list with a column called Status and you want to filter items where the Status is Approved . Filter Query: Status eq 'Approved' Status : The internal name of the SharePoint column. eq : OData operator for "equals." 'Approved' : The value you are filtering by. Example 2: Filtering records based on dates and another field Suppose you want to filter records where Status is Approved and the Created date is after 2023-01-01 . Filter Query: Status eq 'Approved' and Created gt '2023-01-01T00:00:00Z' and : Logical operator to combine multiple conditions. gt : OData operator for "greater than." '2023-01-01T00:00:00Z' ...

Difference Between Dalay Until by using Schedule And Delay Until Using Dataverse

Image
 Delay Until Action In Power Automate Delay Until By Using Schedule  Delay an action until a specific event occurs. You can use this action from the Microsoft Dataverse connector or any other connector as a step in the middle of the flow to delay subsequent steps until a specific event occurs. For example, you can define a flow that’s similar to the one in the following image to check for updates to  Account  rows in Dataverse, and then waits for an email confirmation from the  Account  manager before updating the change. Wait condition using delay until Use an OData-style time stamp in the  Delay until  property to delay the flow trigger until a specific UTC time. The key benefit of using the Dataverse  Delay until  property instead of the standard  Delay until   action  is the Dataverse  Delay until  property never expires, allowing the flow run to wait for long periods of time. Feature Delay Until Condition (D...